Once i had all my content and images in place i first focused on SEO. First i wen through and added alt text to all my images on my website with they keywords i had established in the brief. Then i added my meta tags onto all the pages, for the tittle tag on the index page i used all my keywords as i want this to be the main page that people land on for the other pages in the tittle i just called them “Contact us” and “Services”.
Tittle tags index

Meta tags

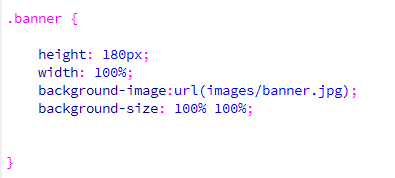
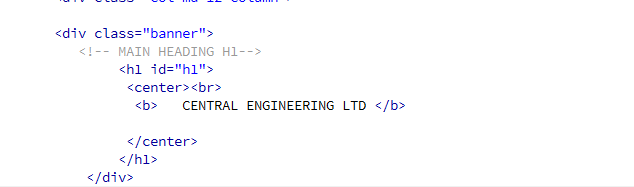
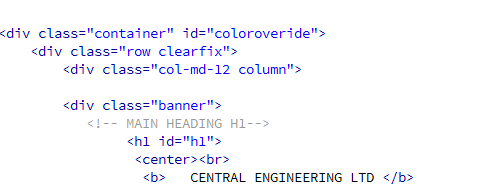
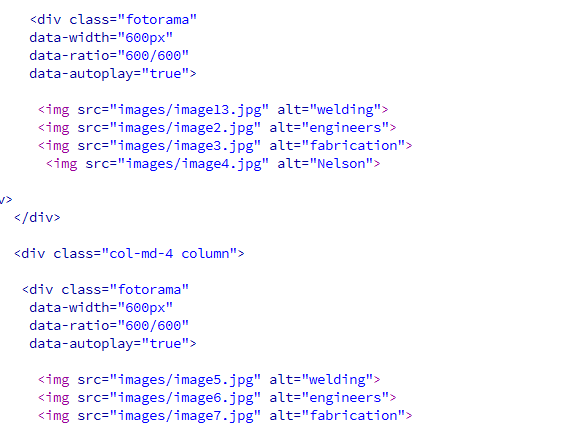
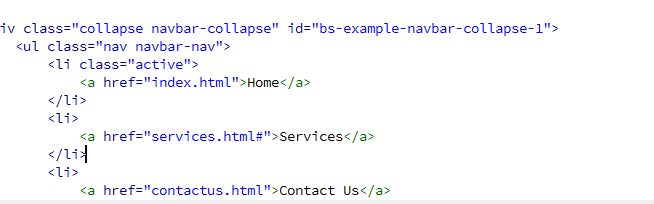
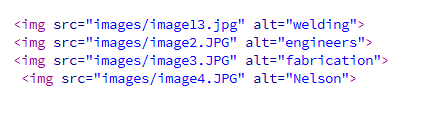
Alt text
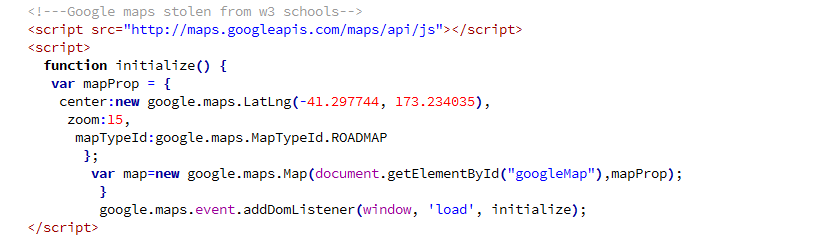
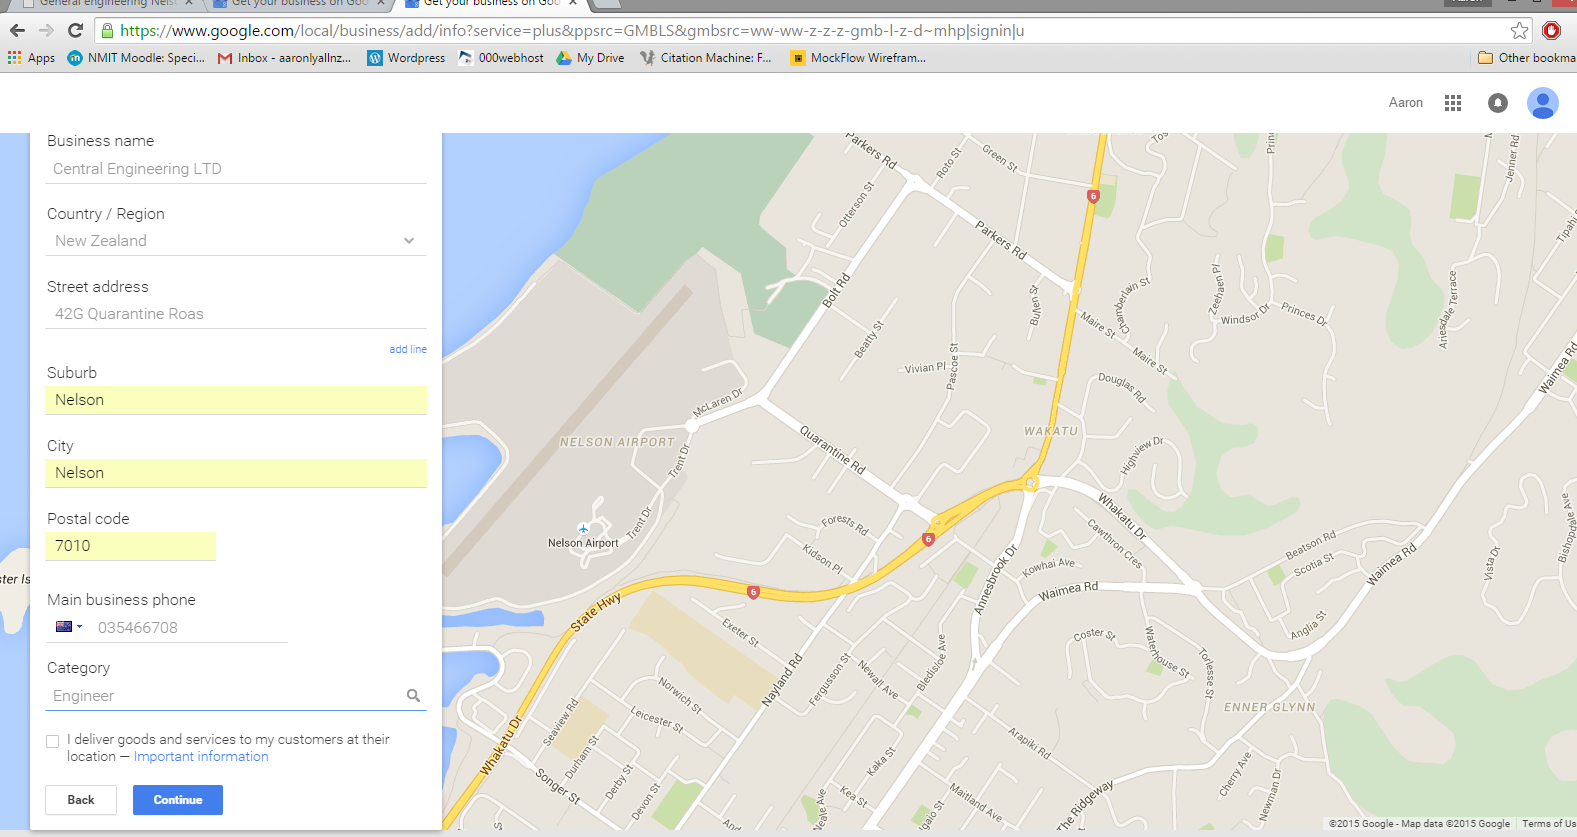
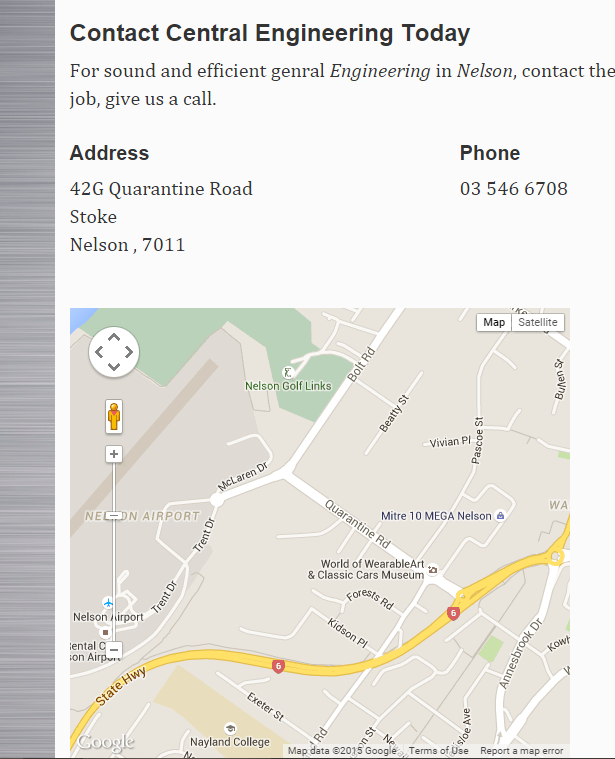
After this i registered the business on Google Businesses and also made a google analytic’s for the website and copy the code given onto all 3 of my pages. after this i also added google maps to the contact us page on the website with the location of the business.
Google maps code
Registering business
google maps on site
google business


google analytics

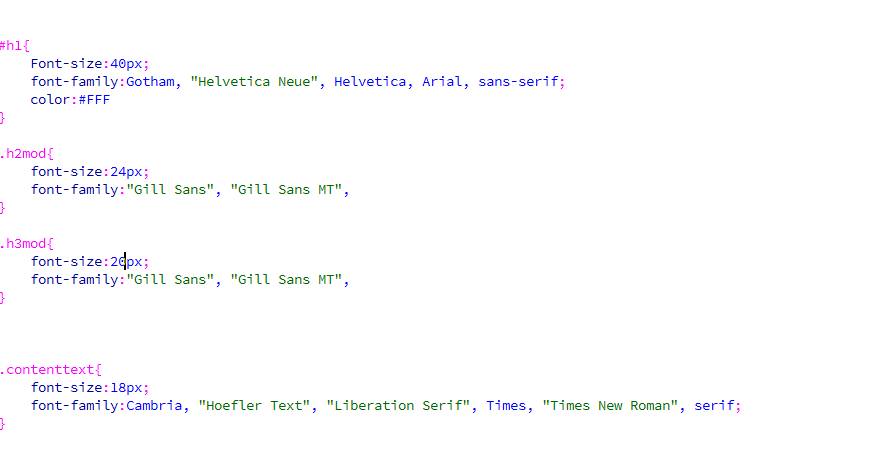
After finishing off the SEO stuff i moved onto adding the different screen size and what i wanted my font to adjust to.

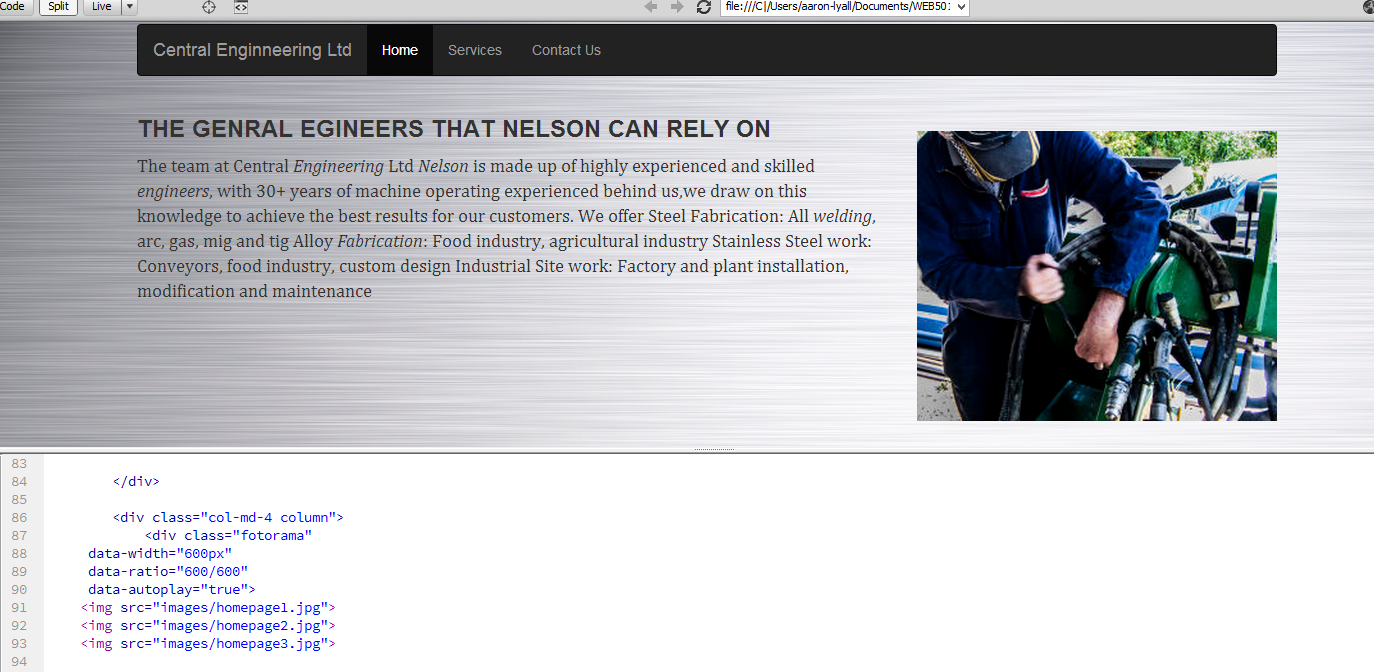
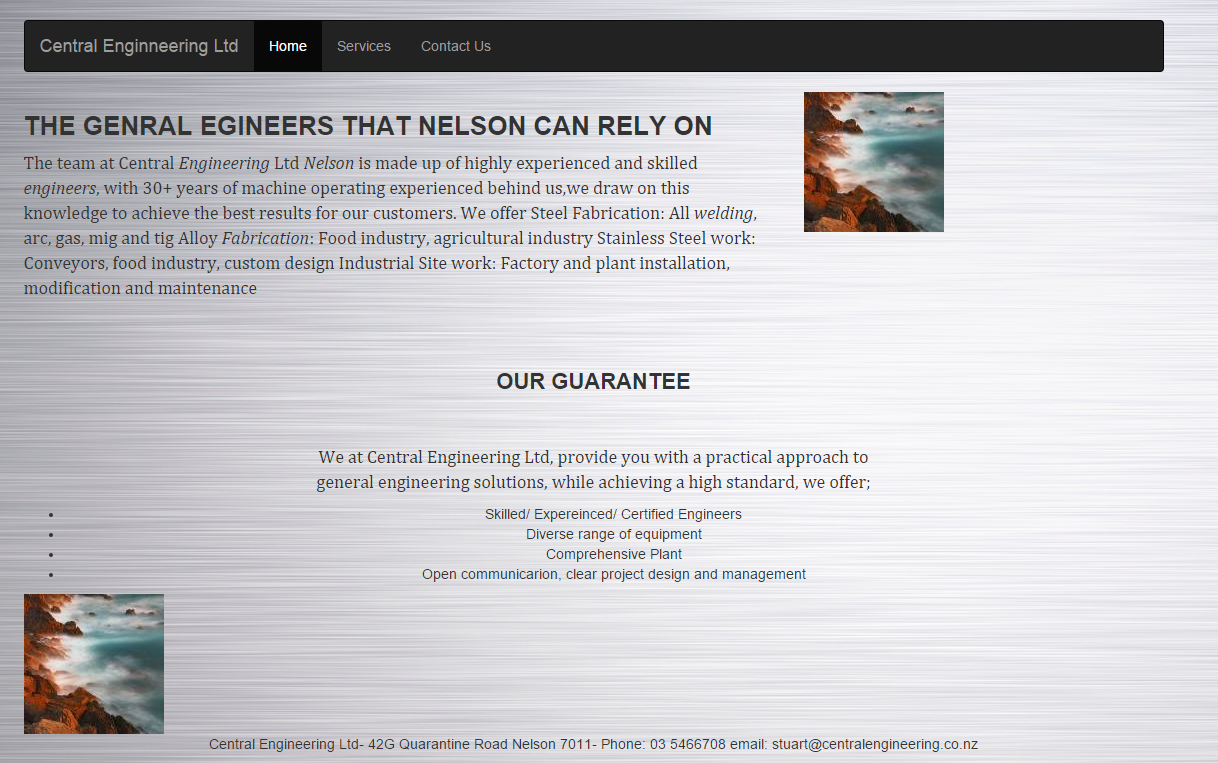
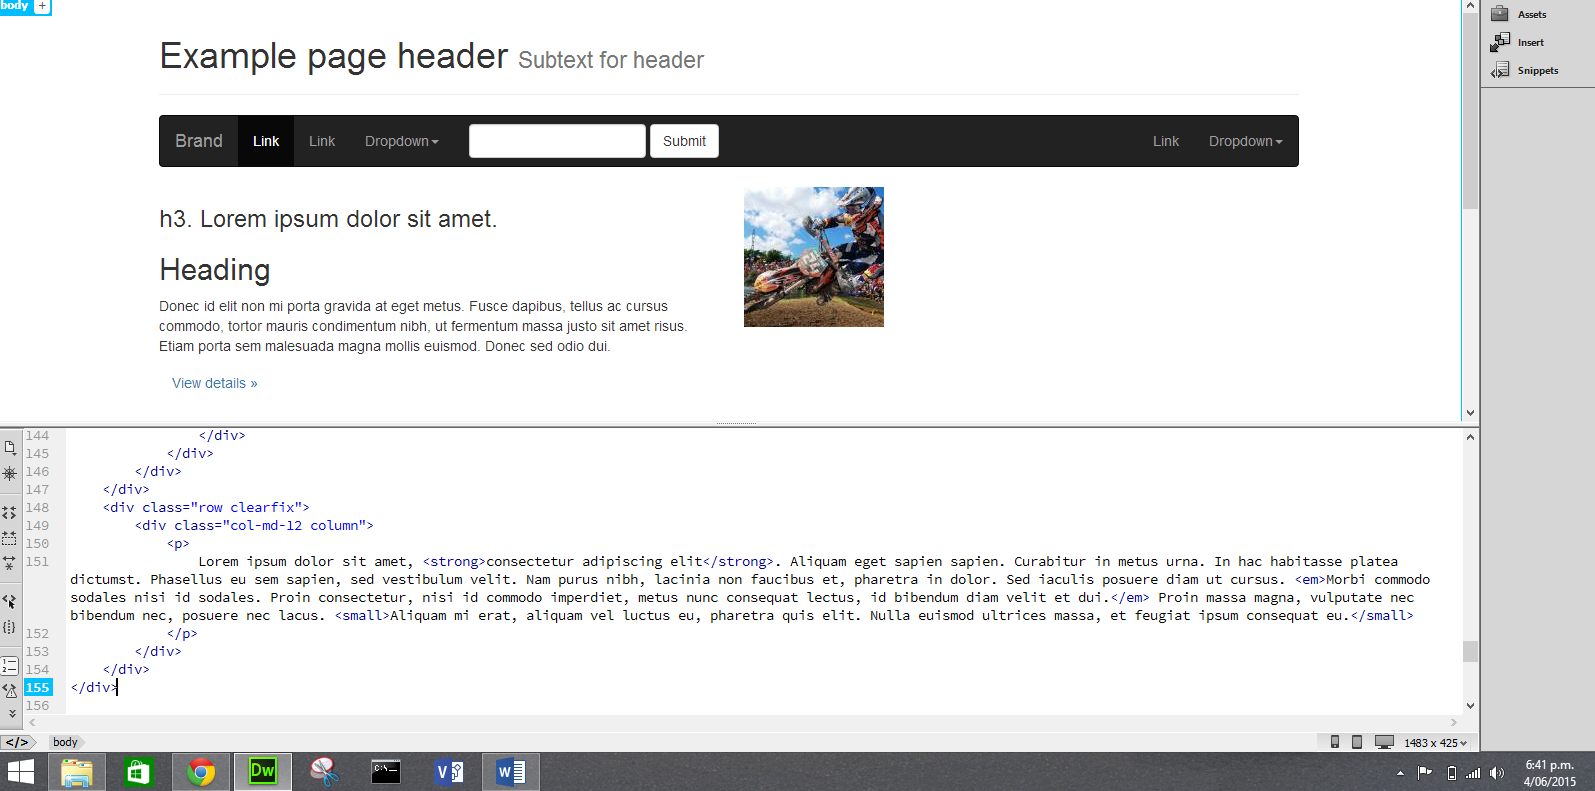
The main changes i had to make to this website were adding the white background to the body to make the text more visible and the other major change was i had to take out the send us a message system as i could not get it to work properly.